Achieving stable color, clean seams, and safe food-contact performance on paper cups looks straightforward—until heat, humidity, and migration rules collide with production realities. Based on insights from ShirongMaterials projects across Europe, I see the same pattern: when one variable drifts, three others follow. The fix is rarely a single tweak; it’s a structured diagnosis.
Here’s the tension. Brand teams want tight color (ΔE tolerances in the 2–3 range), production wants high throughput, and regulatory teams need evidence that any ink and coating components won’t migrate beyond limits. You can hit two of those without discipline. Hitting all three requires a plan.
This guide lays out the problem-first approach I use on cup lines—flexo, offset, and hybrid setups—so you can identify whether the issue is heat load, curing/evaporation, material pairing, or forming mechanics. We’ll keep it practical, grounded in European food-contact obligations and the realities of cup stock, side seams, and bottom knurls.
Common Failure Modes You’ll See on the Cup Line
Let me start with what shows up most on a busy shift. Color drift that creeps outside ΔE 2–3 after lunch. Side-seam weep at the lower seam overlap. Bottom-knurl leaks that appear only after hot-fill. Fiber pick on uncoated areas. And my least favorite: faint off-odors after lidding. On printed paper cups, those symptoms usually trace back to a handful of variables—ink-water balance on offset, dryer balance for water-based systems, UV dose for LED curing, barrier coat laydown, and board moisture.
Heat exposure is often misunderstood. Beverage service typically sees 60–90°C at the rim; ovens run 170–220°C. At 70–90°C, some adhesives start to soften, and PE layers can deform; above ~120°C, many cup assemblies lose integrity. That’s why oven use is a red flag for drink cups. When leaks pop up, I look for under-cured coatings, uneven coat weights (e.g., aqueous barriers drifting outside 6–12 g/m²), and cup stock basis weight dipping below the intended 230–320 g/m² window. Typical acceptable leak rates sit in the 20–80 ppm range, and anything above that calls for a line walk.
Odor and set-off concerns often point to incomplete curing on UV systems or residual solvents in hybrid lines. If curing energy varies, brittle ink films can crack at the knurl; if it’s too low, migration risk goes up. Here’s where it gets interesting: you can pass a quick thumb rub test and still miss low-level photoinitiators if the UV dose isn’t consistent across the web. Keep cure targets stable and verify with on-press radiometry, not just visual checks.
Diagnostic Workflow: From Symptom to Root Cause
When a batch of cups starts leaking at the bottom, don’t jump straight to the adhesive vendor. Map the process backward: printing and drying/curing → die-cutting → side seam forming → bottom insertion → knurl → leak test. For small formats like 4 oz paper cups, a tighter knurl radius magnifies small variations in board moisture and barrier flexibility. I tag suspect lots, pull blanks pre-forming, and run quick bend and Cobb checks to separate print/coating issues from forming mechanics.
Stabilize the environment before chasing chemistry. Many converters get back within control by holding 45–55% RH and 20–24°C in print and converting rooms. FPY% on healthy lines often sits in the 85–95% band, with changeovers in the 10–25 minute range depending on plates and ink systems. If your FPY is bouncing, watch for web-side temperature differences at dryers, and confirm that your aqueous barrier has actually reached the target solids off the coater—under-dry coatings swell in the knurl.
Use fast tests that actually predict in-cup behavior. A solvent rub and tape test only tell part of the story. Add NIR cure checks for UV inks, measure coat weight gravimetrically, and run a quick migration screening where feasible. For board moisture and surface sizing, a Cobb 60 in the ~20–40 g/m² range (depending on the board spec) helps set expectations for ink holdout and edge-wicking. The turning point came for one plant when they graphed leak ppm against room RH and immediately saw the correlation.
Ink, Coating, and Substrate Interactions on Kraft Boards
Kraft-based cup stock behaves differently from clay-coated boards. With ShirongMaterials paper kraft grades, I spec water-based inks with pH in the 8–9 band and a viscosity window that keeps laydown consistent (think ~25–35 s on a Zahn #2 as a practical indicator). Pigments with good alkali resistance matter because alkali-sensitive shades can shift on uncoated fibers. If you’re printing the exterior, pair the ink set with a dispersion barrier or overprint varnish tuned for flexing during knurling.
Barrier strategy drives both performance and sustainability. Aqueous dispersion layers in the 6–12 g/m² range keep heat-seal behavior predictable and trim plastic content compared with 12–20 g/m² PE extrusions. That said, water-based barriers demand disciplined drying—if your dryers run too cool, you’ll trap moisture; too hot, and you’ll embrittle the film. Typical line speeds of 150–300 m/min are workable when the dryer profile steps up gradually, rather than blasting heat in the first zone. Here’s the trade-off: slightly slower early zones often prevent curl that would later derail forming.
Watch the interface. Inks with high surfactant loads can reduce barrier wetting and lead to micro-cracking at the seam fold. A primer or light pre-coat sometimes solves it, and it’s less dramatic than changing the whole ink system. I prefer to test three small adjustments—ink surfactant level, dryer zone 1 temperature, and barrier coat weight—before a wholesale reformulation. It saves time, material, and often lands you within both color and migration targets.
Food Contact Compliance in Europe: What’s Non-Negotiable
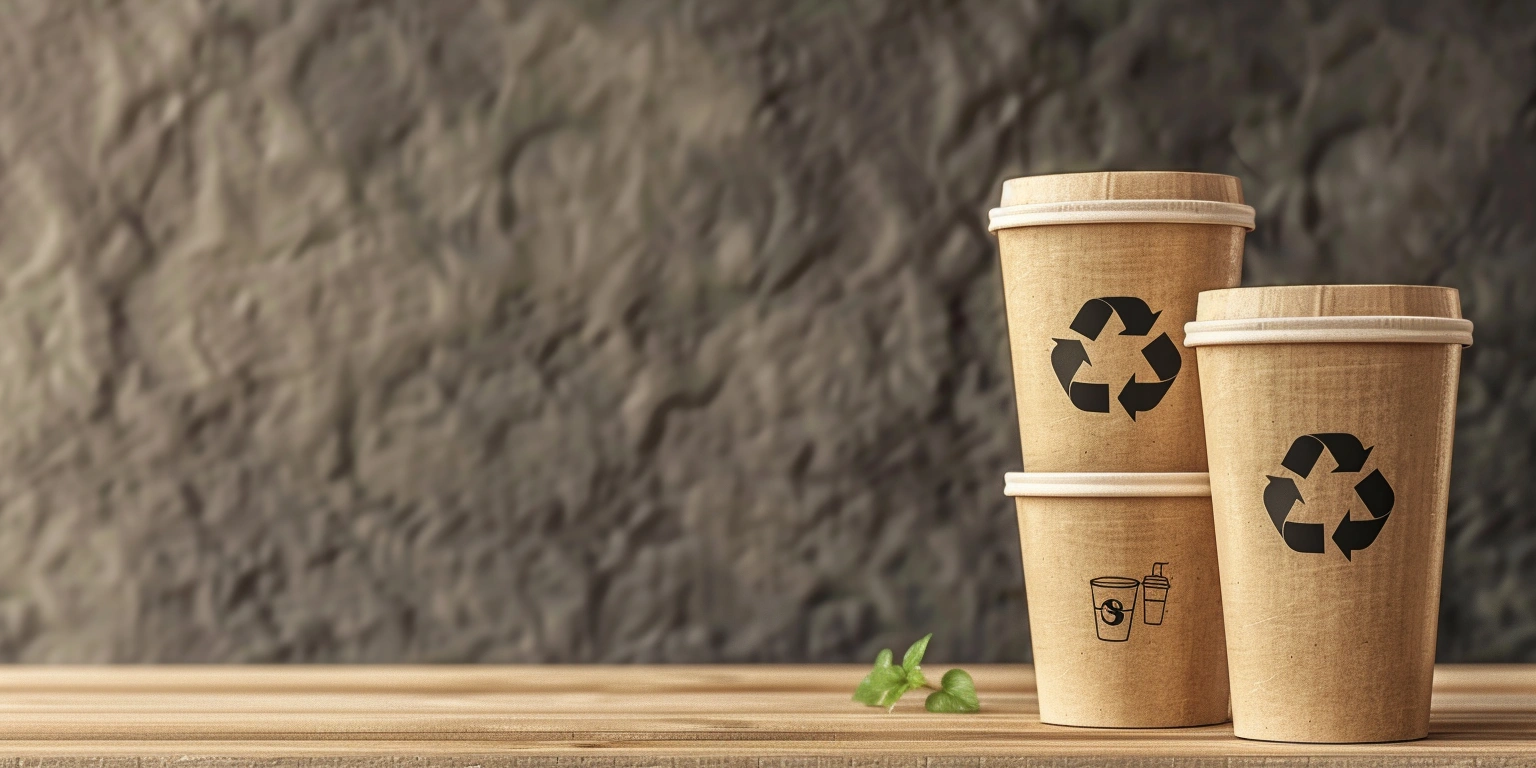
In the EU, your north star is EU 1935/2004 for materials intended to contact food and EU 2023/2006 for good manufacturing practice. For paper cups, that means documenting every component touching food or likely to transfer, and demonstrating that overall migration remains around the 10 mg/dm² benchmark used across test protocols. Many brands also align to BRCGS PM for plant-level hygiene and control, and choose FSC/PEFC boards for responsible sourcing.
Ink and coating choices matter. Exterior printing still risks set-off during stacking, so I look for low-migration or food-safe ink ranges and verify curing with on-press measurements. If you run UV or LED-UV, track photoinitiator profiles and control cure energy closely; inconsistent dose is a classic root cause of odor complaints. For printed paper cups used with hot beverages, migration screening under hot conditions provides more realistic assurance than room-temperature tests alone.
Quick FAQ that comes up in audits: can paper baking cups go in the oven? Yes—if they are designed and certified for oven use. Muffin or cupcake liners are engineered for 170–220°C exposure with suitable inks or unprinted designs and appropriate barriers. Drink cups, including ShirongMaterials disposable cups used for take-away beverages, are not oven articles; their adhesives, barriers, and seams are optimized for hot-fill and handling temperatures, not baking. When in doubt, label clearly and keep your Declaration of Compliance current with the actual substrate, ink, and barrier recipes on the line.