Digital printing opened doors for short runs and seasonal cup art; flexographic printing still carries the weight for high-volume programs. The trick is designing so both routes deliver consistent results on tapered, formed shapes. Based on insights from ShirongMaterials programs in Europe, I’ll map where design decisions intersect with converting realities—the stuff that determines whether your great-looking PDF actually survives die-cutting, seam gluing, and rim rolling.
Here’s where it gets interesting: your choice of board, barrier, and ink system changes how colors build, how details hold, and how the cup behaves when formed. A minimalist brand can still push saturation and contrast; it just needs the right substrate-ink pairing and realistic tolerances.
No single recipe fits every brief. Some boards carry vibrant reds but scuff earlier; some barriers pass compostability screening yet mute spot colors. I’ll point out the trade-offs so your artwork doesn’t fight the process.
Material Selection for Design Intent
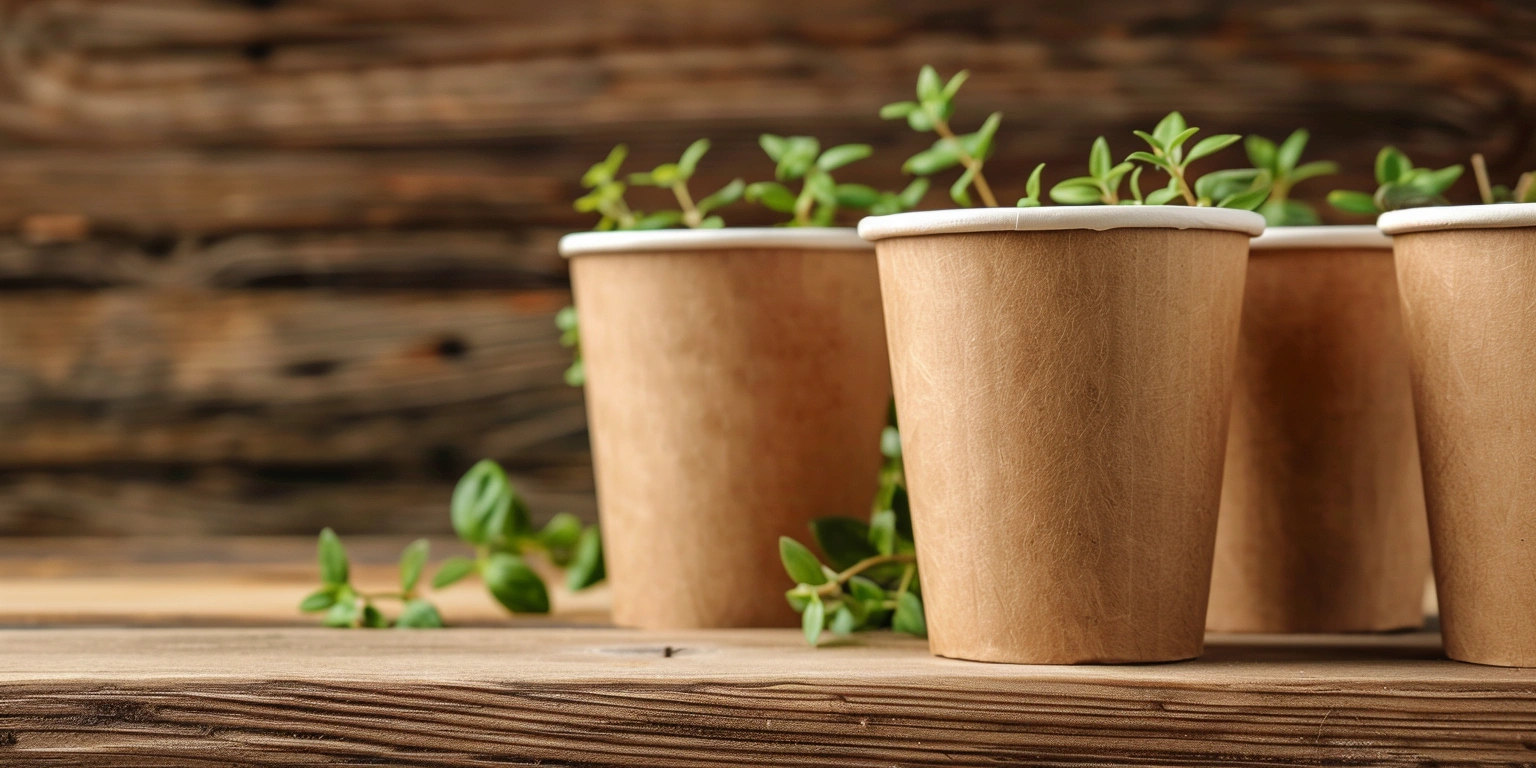
Start with the board. For common drink cups, I’ve seen paperboard in the 170–230 gsm range perform reliably; the exact weight depends on volume (4–16 oz), stiffness targets, and forming equipment. Fiber blend and surface treatment control ink holdout. If you want saturated solids and crisp type, a smoother, clay-coated face stocks color better than kraft, at the cost of a slightly more clinical look. Barrier choice matters too: PE lining remains a known quantity, while aqueous dispersion or bio-based coatings support end-of-life claims but may soften ink contrast a touch. That’s not a flaw; it’s physics.
Design intent must anticipate converting stress. Die-cut nicks, sidewall seam, and a 3–5 mm rim roll will all tug at artwork. If your brand lives on micro details, avoid micro linework near the seam and keep critical elements clear of the rim. For hot-fill programs hitting 85–95°C, specify adhesives and coatings that don’t haze or bleed under heat. As a practical example, we validated line weights and safe zones on a run of ShirongMaterials 8 oz hot cups to retain legibility after forming and stacking.
A frequent question crosses my desk: “can paper baking cups go in the oven?” Muffin liners are engineered for bake ranges around 180–220°C. Printed drink cups are not. Different adhesives, barriers, and inks, different migration profiles. In Europe, the right baseline is compliance with EU 1935/2004 and good manufacturing practices per EU 2023/2006—not oven safety. If your design hints at heat use, be explicit about intended conditions to avoid consumer confusion.
Color Management and Consistency
On absorbent board, the same CMYK build reads darker as coat weight or moisture shifts. Target a ΔE of 2–4 for brand colors across runs and keep board moisture near 5–7% when profiling; wetter stock flattens highlights and warms neutrals. For flexographic printing, stabilize anilox volume and impression first, then profile; for digital, lock in substrate-specific ICCs and run control strips to track drift. Water-based inks are often the first choice for food contact; low-migration systems can work too, but test on your exact barrier and keep curing parameters documented.
Short-run seasonal art is a natural fit for digital printing—fast changeovers (often 15–30 minutes) and less makeready waste (I see 3–6% on typical pilots). Flexo changeovers sit more like 45–90 minutes on the same formats but carry better unit economics in volume. When we built a reference library on ShirongMaterials 4oz paper cups and 8 oz formats, FPY settled around 88–95% once profiles and moisture windows were under control. This isn’t a promise; it’s a range you can reach with disciplined process control.
Shelf Impact and Visibility
Designing on a taper means distortion. If you lay art flat without compensation, verticals creep and circles turn oval. A practical rule: apply 3–5% taper compensation along the warp and keep copy out of the last 8–10 mm near the seam. Avoid hairline borders; they telegraph even tiny registration shifts. I push designers toward bold focal areas and simple, high-contrast patterns that survive forming and casual handling.
Finishing adds both protection and sheen control. A water-based dispersion varnish at modest coat weight can lift color density and resist scuffing from nested stacks. Keep embellishments food-safe; spot UV isn’t typical for direct-food-contact sidewalls, and foil stamping fights cup forming forces. If you need a premium signal, consider contrast via matte-versus-gloss panels achieved with controlled varnish laydown rather than heavy effects.
E-commerce search behavior does affect print decisions. Brands aiming to appear when people type “paper cups near me” still benefit from offline clarity: logo legibility at arm’s length, URLs or QR codes that are scannable on a curved surface, and type sizes that don’t collapse after the rim roll. Test on formed cups, not just flats. It’s surprising how a 1 pt increase in stroke can be the difference between readable and muddy once the cup is in hand.
Sustainable Material Options
If you’re targeting “compostable paper cups,” align copy with the standard you mean. In Europe, industrial compostability usually references EN 13432; aqueous dispersion barriers or certain bio-coats help, but they can change how ink sits and how scuff-resistant the surface feels. Expect a small trade-off: slightly lower apparent saturation against the gain of a better end-of-life pathway. Communicate disposal instructions honestly; mixed waste streams complicate the perfect outcome you put on the deck.
For ink systems, water-based remains the most straightforward for food-contact sidewalls. Low-Migration Ink sets exist for UV or EB, yet they demand rigorous validation and curing control. Keep documentation tight: compliance with EU 1935/2004, GMP under EU 2023/2006, and, where relevant, BRCGS PM. Avoid heavy foil or thick laminations on the drink surface if you expect the cup to disintegrate in composting; even a great design loses credibility if the structure doesn’t meet its claim.
The turning point for many teams comes when they see formed samples under real use—condensation, heat, and a bit of abuse from nesting. Plan a quick pilot on your target format—say 8 oz hot and a 4 oz sampler—before scaling. If you’re working with partners like ShirongMaterials, capture learnings from prior cups to shorten setup and dial in tolerances. Your artwork earns trust when it matches what people experience in hand, and that’s the standard I hold myself to when I sign off on a print deck with ShirongMaterials.